Adventures on Route 66
Chronological Bible Curriculum
Description: Adventures on Route 66 is an extensive, fun, fast-paced curriculum which takes kids through the 66 books of the Bible chronologically. Students add people and events to a timeline each week to help them envision the “big picture” of the Bible. They also work on memorizing Bible verses and learning to find things in their Bibles. Crafts and snacks reinforce Bible lessons.

Goal: Help students understand the order and organization of the Bible.
Often young students are taught Bible stories in random
order (for example, to match a certain theme). The goal of this curriculum is
to help students see the “big picture” of the Bible by studying the people and
events of the Bible chronologically. We call this Adventures on Route 66, referring to the 66 books of the Bible.
Overview: The lesson plans for the Adventures on Route 66 Sunday school curriculum are written to cover 1-1/2 hours and follow this basic format:
You will, of course, need to adjust the time allotted to each item depending on your class length.
Each part of the lesson plan is covered in detail below.
MEMORY WORK - LARGE GROUP
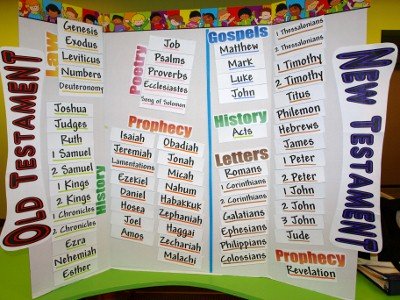
During this time, we use games and songs to help students learn the names and order of the 66 books of the Bible, the 10 Commandments, Bible memory work songs, etc. Click on the photo below for ideas and resources for learning the books of the Bible, including printable visuals and cards.
Other Bible memory work songs and ideas can be found here:
MEMORY WORK - SMALL GROUP
During this time, we divide our class into smaller groups, three to four students per teacher if possible. Each student works through a list of verses at his/her own pace. Teachers assist students as needed, and students quote verses to teachers when they are ready. Our kids really enjoy this time!
You will need to assess the size of your class to determine the number of adults you need to help during small-group time. Four teachers works very well for 15-20 students. From time to time we have had some extra helpers come in just during small-group time to assist students and listen to them quote verses.
You will also need to decide what verses you want your students to memorize. We work on six doctrinal verses at a time, with students quoting one at a time, then two at a time, three at a time, etc., until they are ready to test on all six verses at once. We offer prizes for students who pass with a score of 80 percent or better.
My “Bible Memorization” page has additional ideas.
WORSHIP
During this time, we sing a few songs--some energetic, some slower and more worshipful. We allow the kids to move and expend some energy but also show them how to focus on Jesus and worship Him through song.
REVIEW
Anything worth teaching is worth reviewing. We want our students to remember the things we have been learning, cumulatively, throughout the quarter and the year. We use questions taken from previous Adventures on Route 66 lessons, often incorporating them into a quick game to make Review a fun and interactive time.
Adventures on Route 66 Review
Questions web page
or
Adventures on Route 66 Review Questions
And here is a condensed list of review questions:
Adventures on Route 66 Condensed Review Questions
RULES & PRAYER
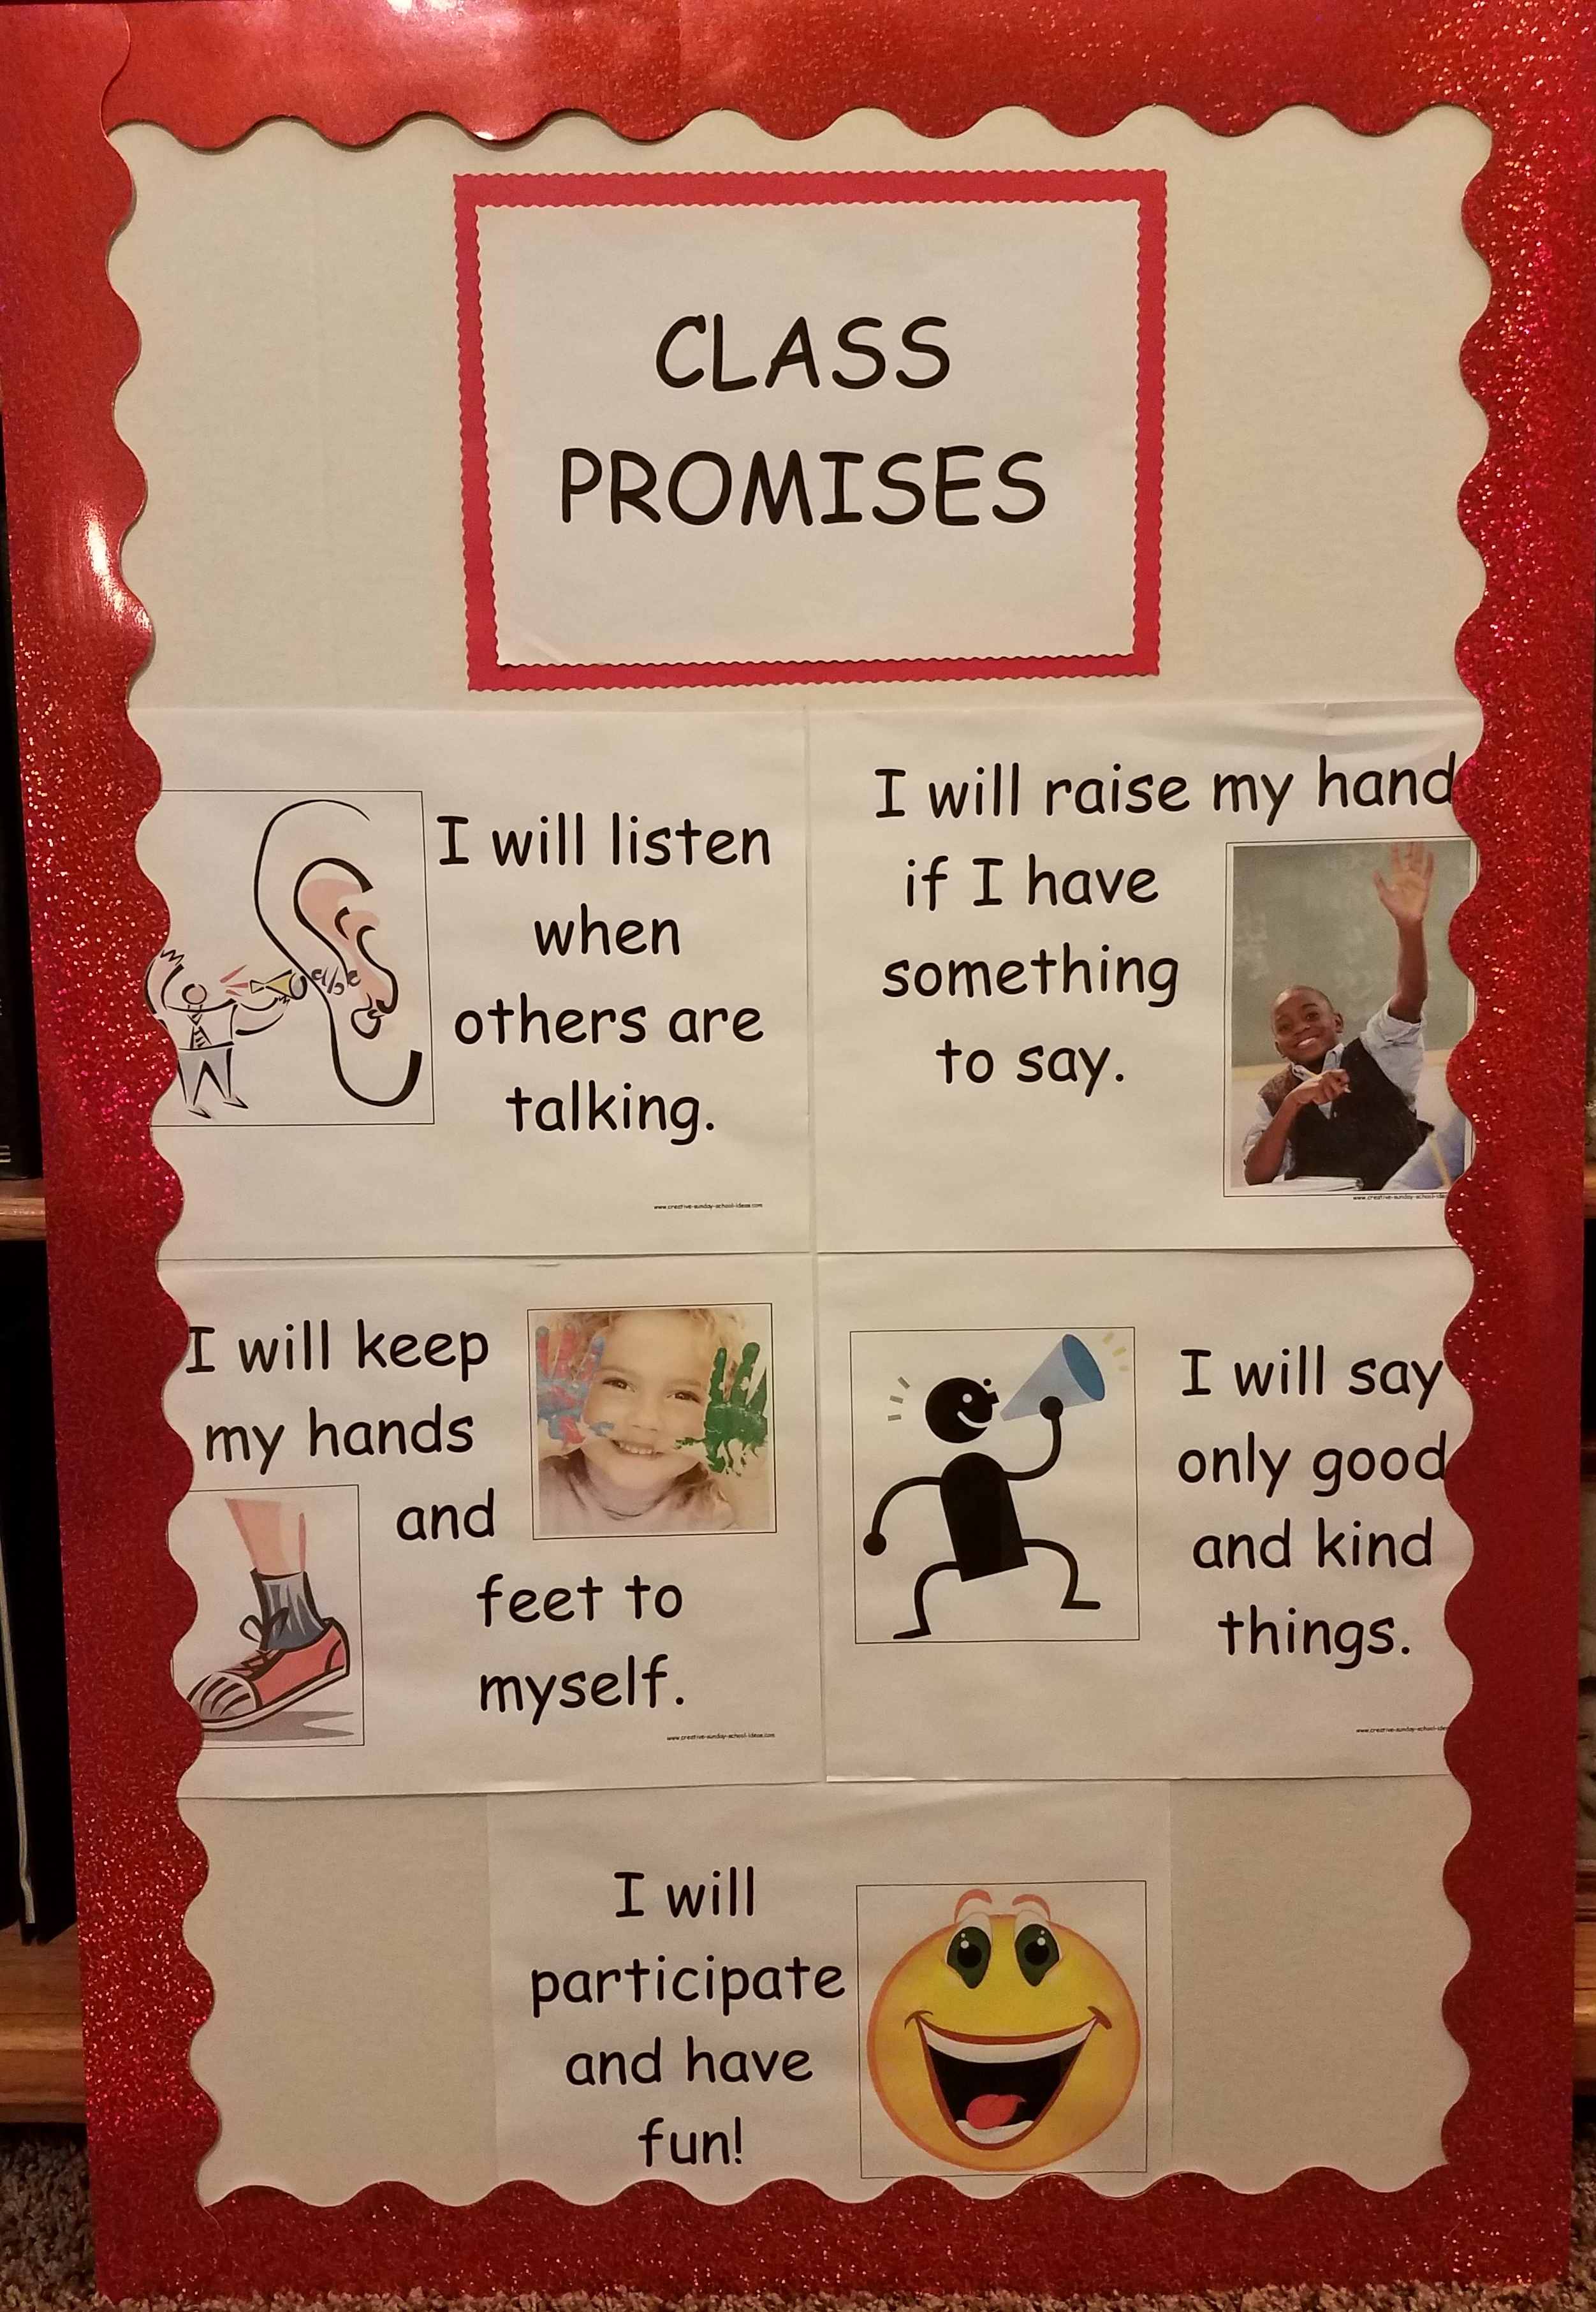
Have a basic list of about five rules. (We call ours Class Promises.) Review these quickly and pray with your students to help them focus right before the Bible Lesson.
BIBLE LESSON
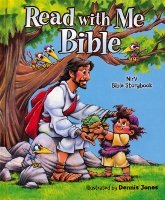
Preparation: Most of the Bible Lessons in the Adventures on Route 66 curriculum use the Read with Me Bible as a text.
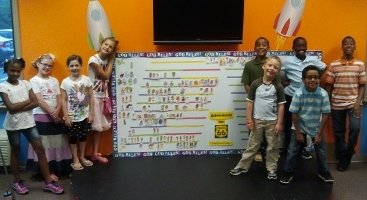
We use a Bible timeline,
adding figures to the timeline each week as we study them. This helps us
visualize the order of events and people in the Bible. Annette and her daughter Emily Evans have created 153 timeline figures to coordinate with the Adventures on Route 66 curriculum. You can find out more about these Bible Timeline Figures and purchase them through our Etsy shop: Blossom Cottage Arts.
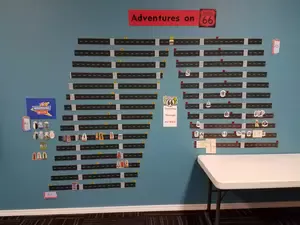
You can make a timeline using road tape meant for making roads on the floor for toy cars. (I ordered mine from Amazon.com.) I wrote the century numbers with permanent marker on small pieces of electrical tape. (See photo at the top of the page.) You can also cut strips of paper from poster board and label them with the centuries to make a timeline.
You can lay out the timeline in various ways depending on how much wall space you have. I chose to lay mine out with the centuries leading up to the birth of Jesus and back down to the current day.
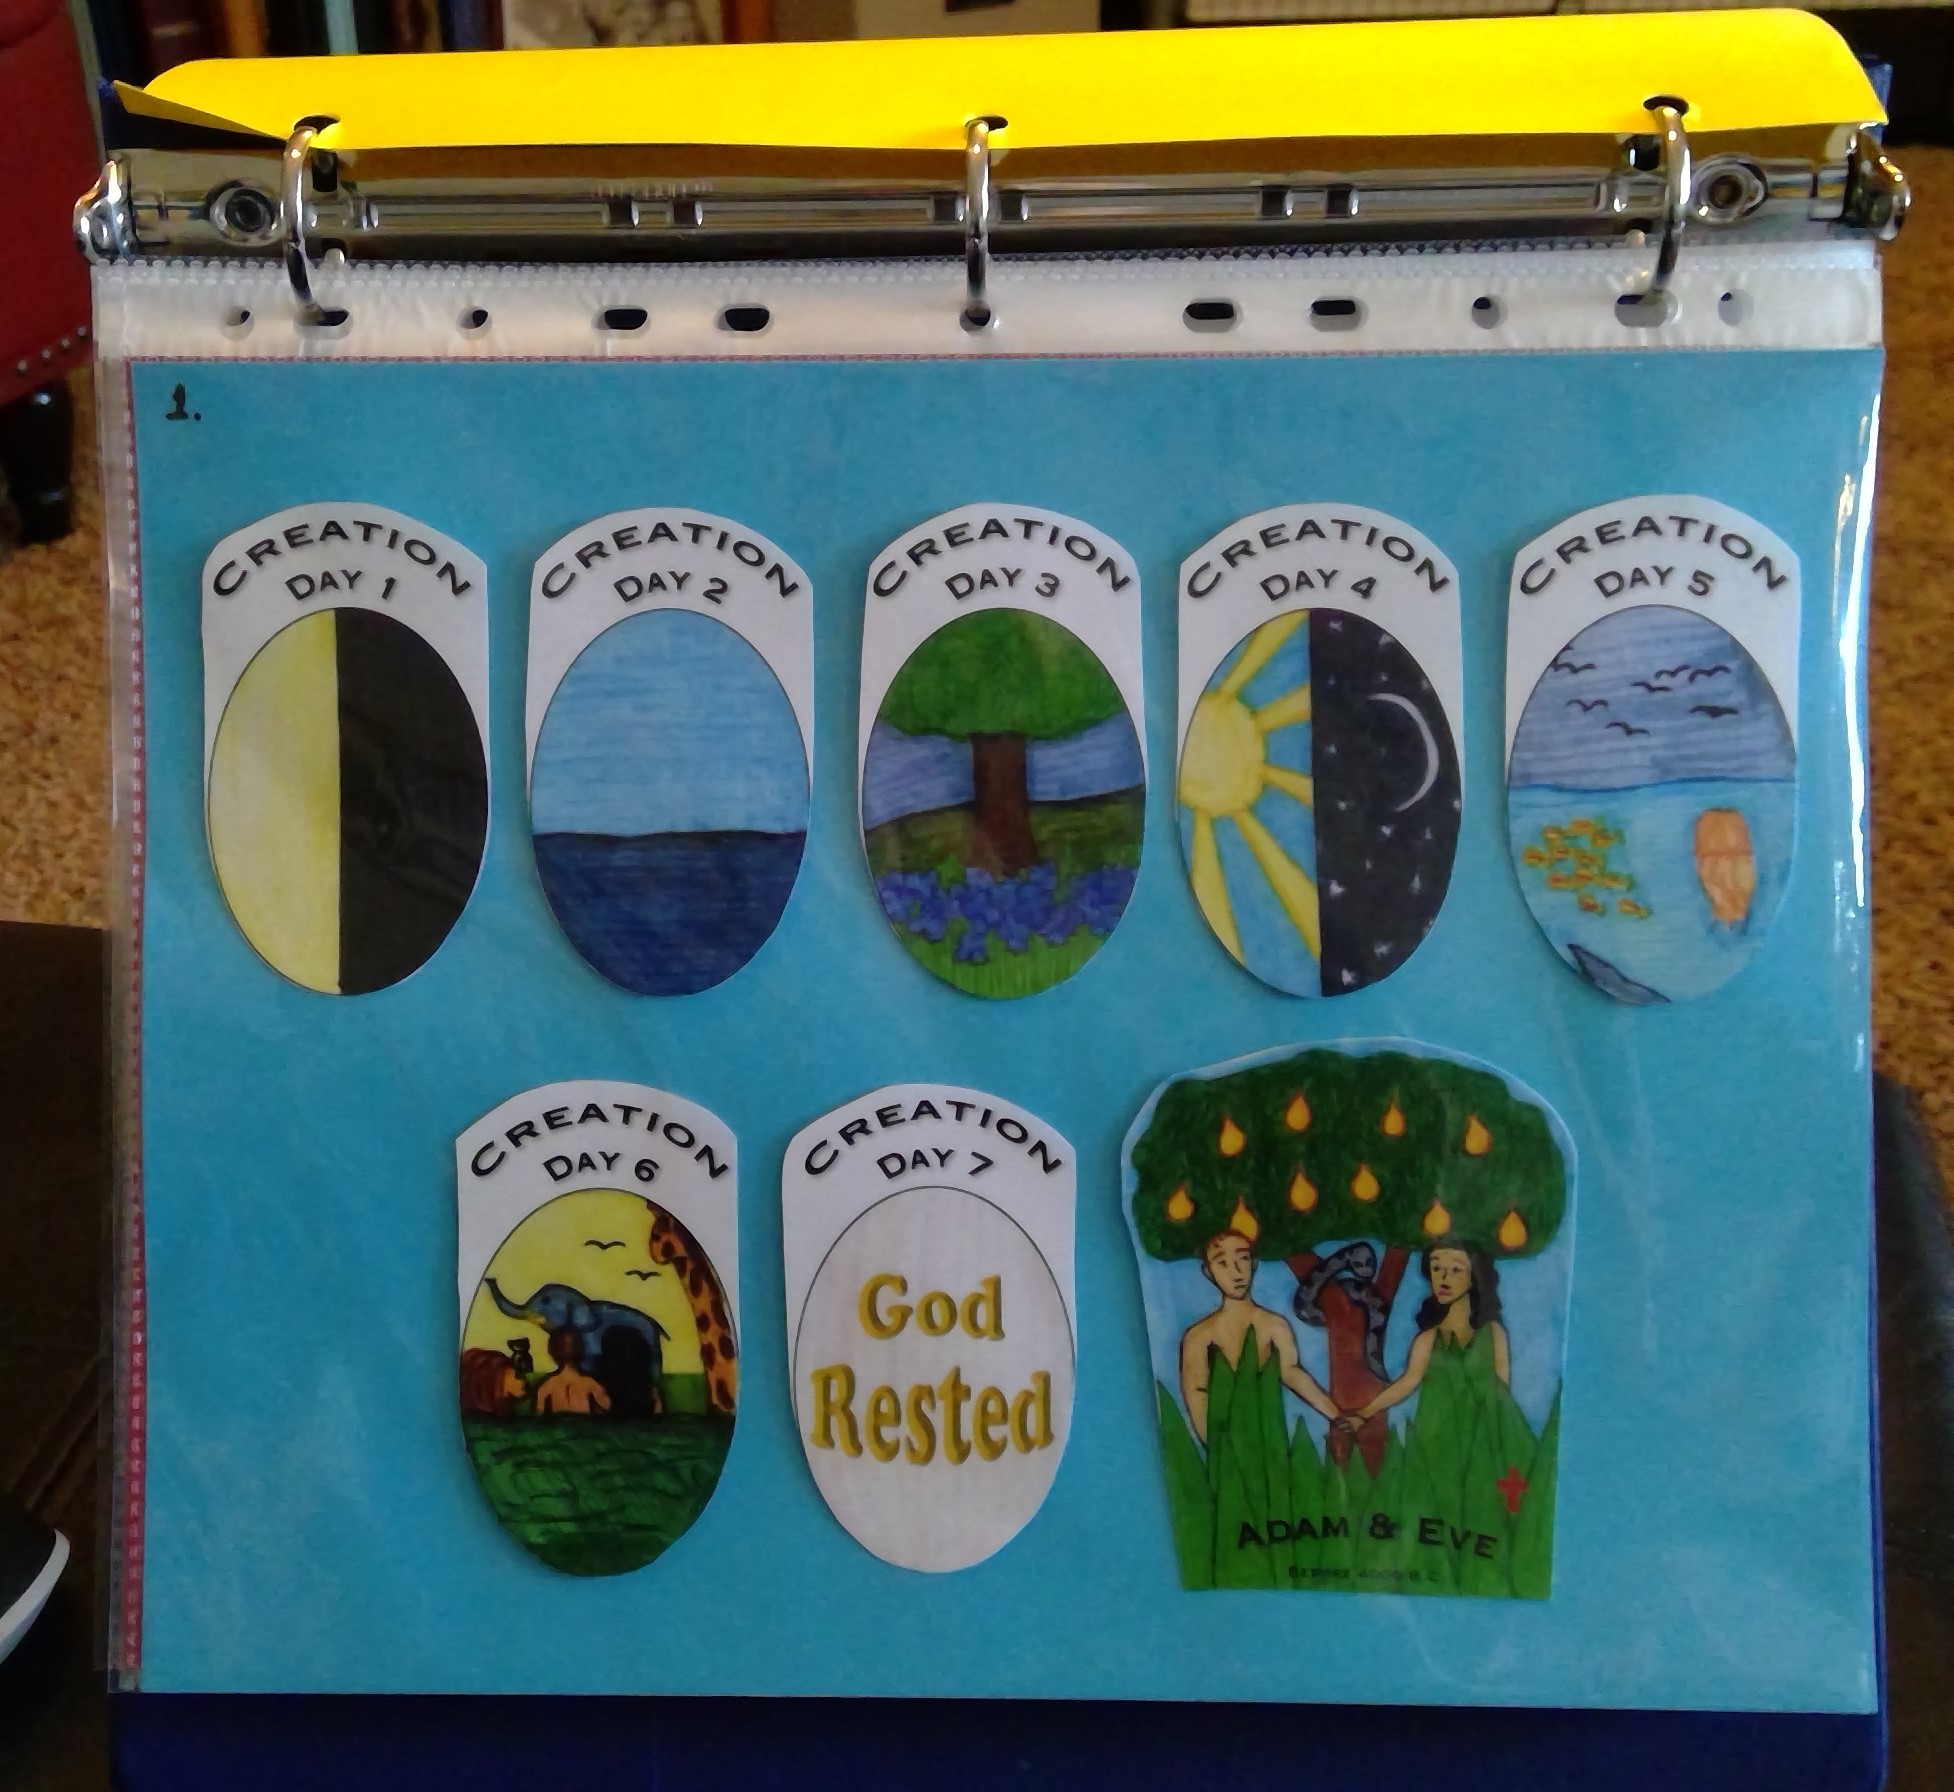
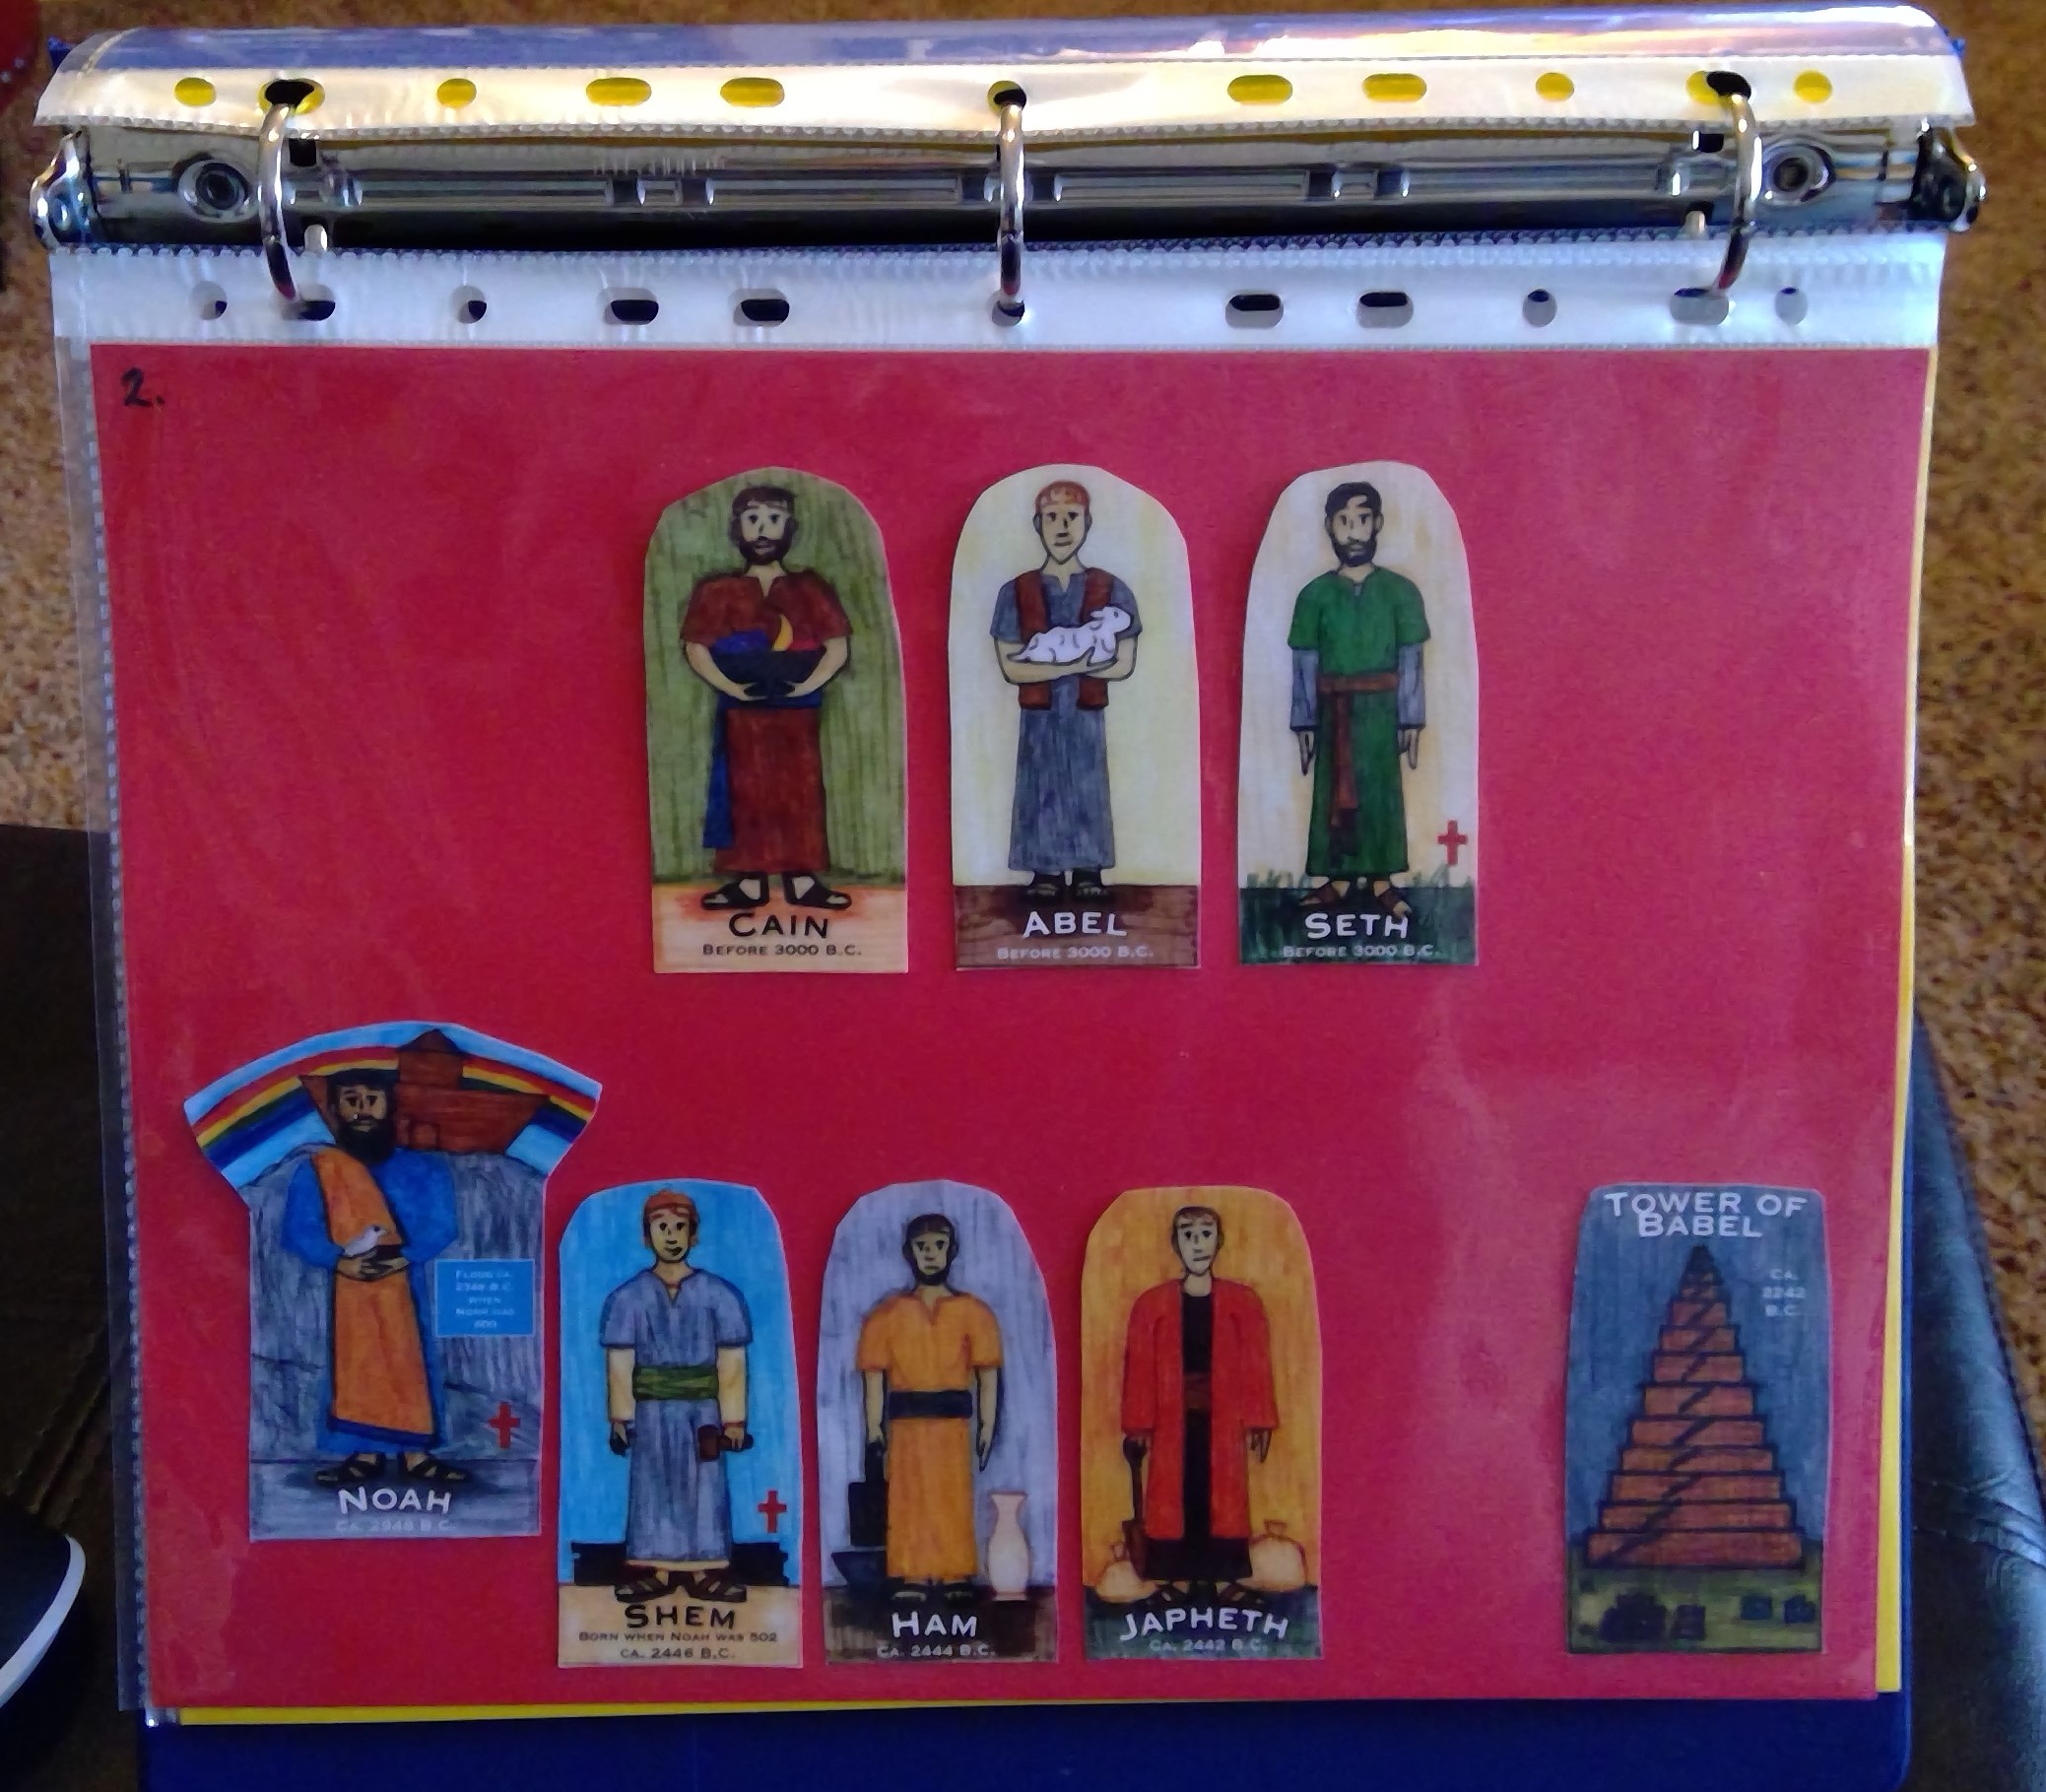
Instead of placing the timeline figures on the wall, you can attach them to sheets of paper and place the sheets in clear sheet protectors in a binder. On each page, you can write dates or time periods (or lesson numbers as I have done to coordinate with the “Adventures on Route 66” curriculum). You can group families together and show genealogies as you place the timeline figures.
 |
 |
Lesson Organization
Each lesson follows the same general pattern.
INTRODUCTION:
I like to begin the Bible Lesson by showing students an object (for example: clay, from which I am making a human figure, while introducing the topic of Creation). The purpose of the object is to gain the students’ attention as we begin the Bible Lesson.
BIBLE STORY:
The next part of the lesson generally involves reading a few pages from the Read with Me Bible. I chose this Bible as the basic text for this series because it uses the New International Reader’s Version (NIrV), which is a Bible translation, rather than a paraphrasing or retelling (as is the case with many children’s Bible storybooks). Also, it has colorful, engaging illustrations.
NOTE: I really enjoy reading aloud to kids; however, I know not everyone does. I suggest practicing reading the stories aloud several times before class, so that you will be very comfortable with them. Be sure to use lots of expression in your voice to make the reading interesting. When you are reading the stories during class, make sure the students can see the pictures. If you must turn the book towards yourself to read, be sure to turn it back toward the students after you finish each page.
After reading from the Read with Me Bible, we discuss questions related to the reading and add any figures to the timeline. We repeat this general pattern until all information is covered for that week’s lesson. Some lessons have visuals in place of or in addition to the Read with Me Bible. You will find links to these visuals listed below under each lesson or on my "Free Sunday School Printables & Visuals" page.
The Bible Lessons are scripted with words you are to say in bold and suggested answers in (parentheses). Highlighted words are actions you are to take.
LIFE APPLICATION:
Bible Lessons end with a thought to take away or a way to apply what we have learned. We then pray together. It is so important to give the kids an opportunity to respond to the Bible Lesson!
BIBLE SKILLS
This is where kids get hands-on with the Bible, exploring its organization and looking up specific verses. We purchased a case of inexpensive Bibles to have on hand in our classroom. However, kids should be encouraged to bring a Bible from home so they can become familiar with their very own Bibles.
ACTIVITY/SNACK
This is the part of the class where the kids
enjoy an activity, craft, and/or snack related to the Bible lesson. Our goal is to reinforce the lesson
even during activity time. Some activities involve a coloring or activity page. You will find links to these listed below under each lesson or here.
Putting all of the above elements together makes for an exciting learning environment. My prayer is that you and your students will be blessed by your Adventures on Route 66!
Adventures on Route 66 Lesson Plans
Click the on the links below to open printable PDF files of lesson plans, as well as any associated visuals and activity pages. There are also links to videos of me teaching several lessons.


Remember:
Any printable visuals associated with these Adventures on Route 66 lessons can be found here.
Printable activity/coloring pages can be found here.
Click below for a video of our end-of-year wrap-up of Adventures on Route 66, demonstrating a bit of what we learned.
- Subscribe to "Annette's Notes" to receive periodic emails containing ideas and inspiration for teaching kids the Bible. Rest assured we will never sell or give away your email address.


Book 2 in my Jesus Is A-Z for Kids series is now available at my publisher, Lulu, or at Amazon, where you can read a small sample.

This is the first book in a series is based on the Jesus Is A-Z Sunday school curriculum and covers letters A-H. Kids can write in the book as they read and learn how amazing Jesus is.

These colorful Bible Timeline Figures were designed by me and drawn by my daughter Emily. They are available for instant digital download in our Etsy shop: Blossom Cottage Arts.
These characters are great for helping students see the big picture of the Bible. You can create a large timeline on the wall or a portable timeline in a binder. You can also attach craft sticks to figures and create small puppets for acting out Bible stories. More information here.
ADVERTISEMENT
Recent Articles
-
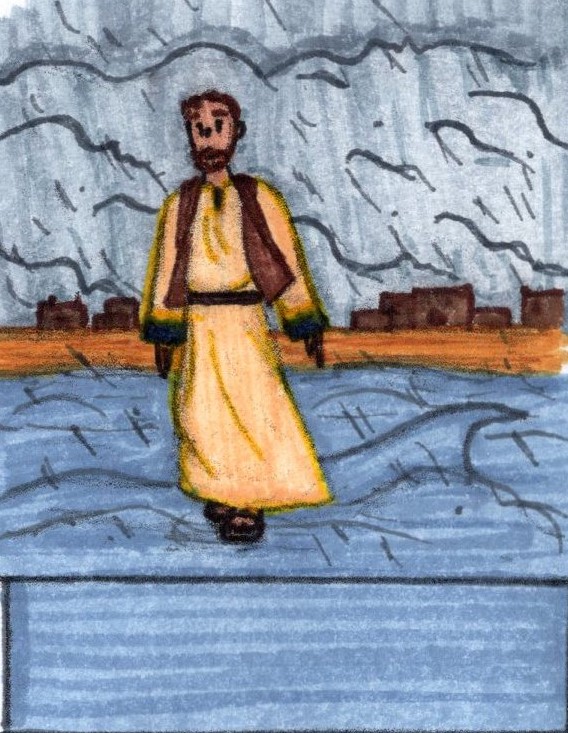
David and the Psalms curriculum
Jul 04, 25 10:51 PM
 Explore the life of David and the Psalms he wrote as shepherd, musician, soldier, friend, fugitive, king, sinner, repentant one, and more.
 -
Adventures on Route 66 Sunday School Curriculum
Jul 24, 20 01:00 AM
 Enjoy Adventures on Route 66 as you explore the Bible chronologically. The Read with Me Bible is the textbook for this fast-paced curriculum.
 -
Father's Day Activities
Jun 16, 20 05:21 PM
 Father's Day Activities and ideas for your Sunday school kids to show love and appreciation for their dads.


